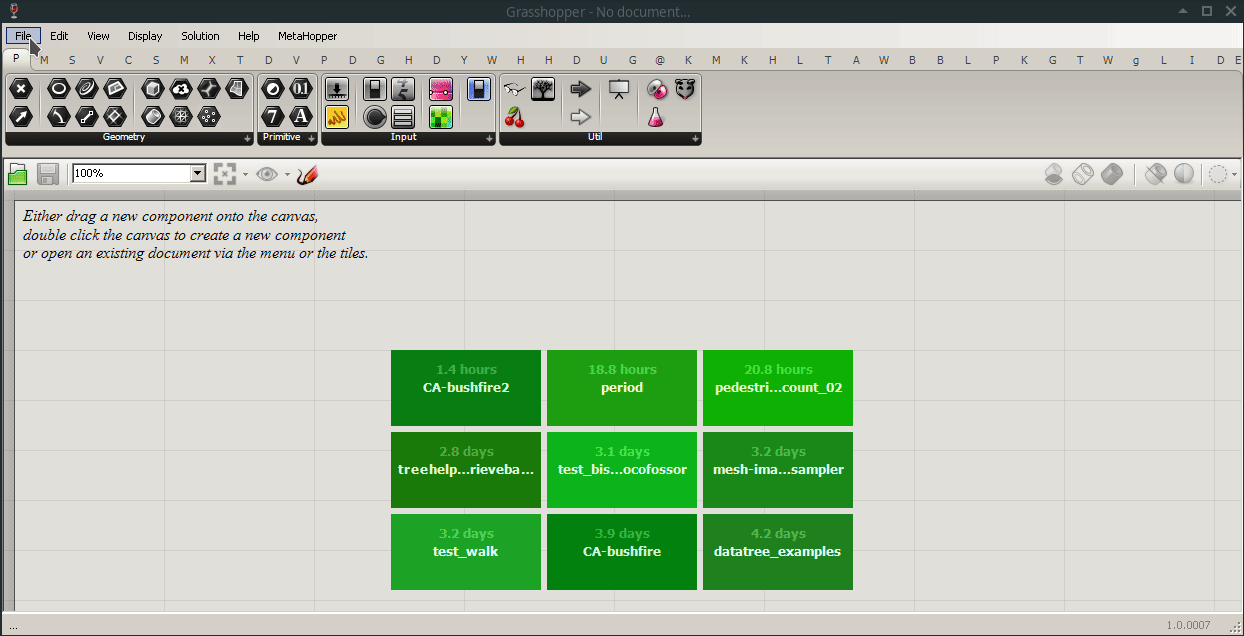
How to import a DTM file using Grasshopper / Docofossor
In this tutorial, we are going to explore how to import a Digital Terrain Model (DTM) into a Grasshopper definition using Docofossor plugin. We assume that you already have installed Rhino 6 as well as completed Rhino and Grasshopper online training from the Assessment 3A from Archistar Academy on Rhino and Grasshopper Essentials. Therefore, this tutorial is divided into three parts:
- Installing software dependencies
- Preparing DTM files in QGIS
- Importing the DTM file into Grasshopper
1. Installing software dependencies
This tutorial uses two plugins:
-
Docofossor is a terrain modelling plugin that enables us to edit cut and fill operations for Landscape Architecture Design.
-
Bifocals it will be used to display at the same time names and icons of components on the Grasshopper canvas. It is a great resource for who is starting to use Grasshopper.
1.1 Installing Docofossor and Bifocals
To install Docofossor go to https://www.food4rhino.com/app/docofossor and register on the site to have access to the download files. After register and login, download Docofossor 0904. Right-click on the zip file and go to Properties, on the right corner below, check if there is a box option to unblock the file if so, unblock it and then unzip the file. Open Rhino and Grasshopper and go to File > Special Folder > Component Folder and copy-and-paste Docofossor_0904.ghpy inside this folder. Restart Rhino and Grasshopper to visualise Docofossor table inside Grasshopper.
Go to https://www.food4rhino.com/app/bifocals and download Bifocals Installer. Run it to install Bifocals plugin.
2. Preparing DTM in QGIS
Before we start to import the DTM file into Grasshopper, it is important that we select the terrain tiles that we will work on. We are going to prepare our data for the Grasshopper on QGIS in this tutorial.
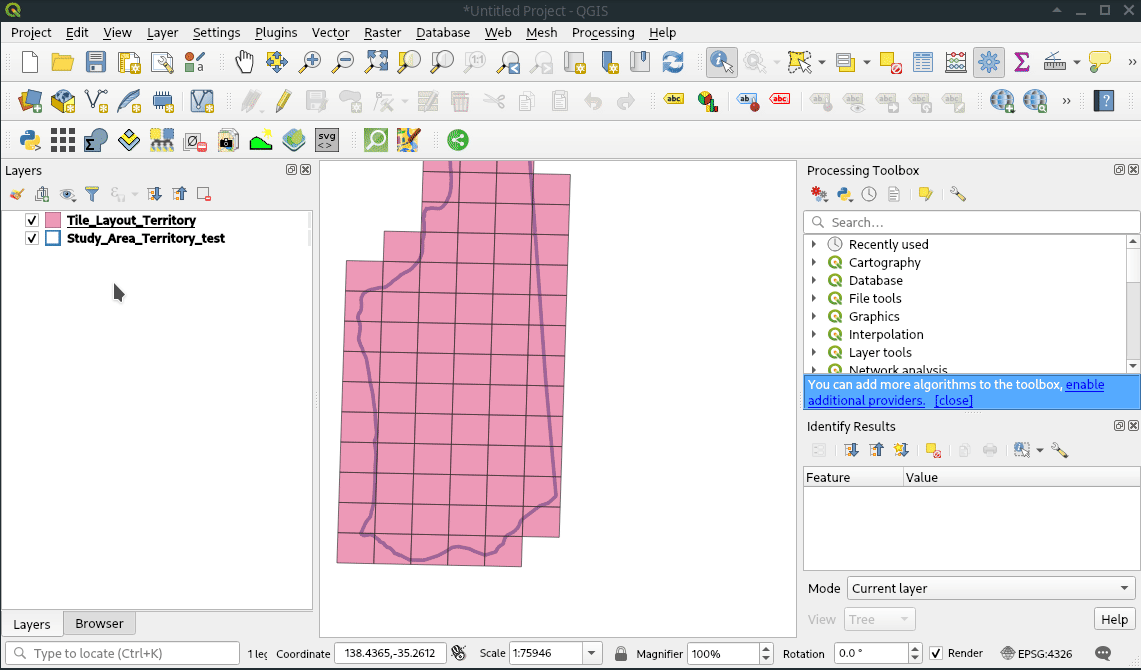
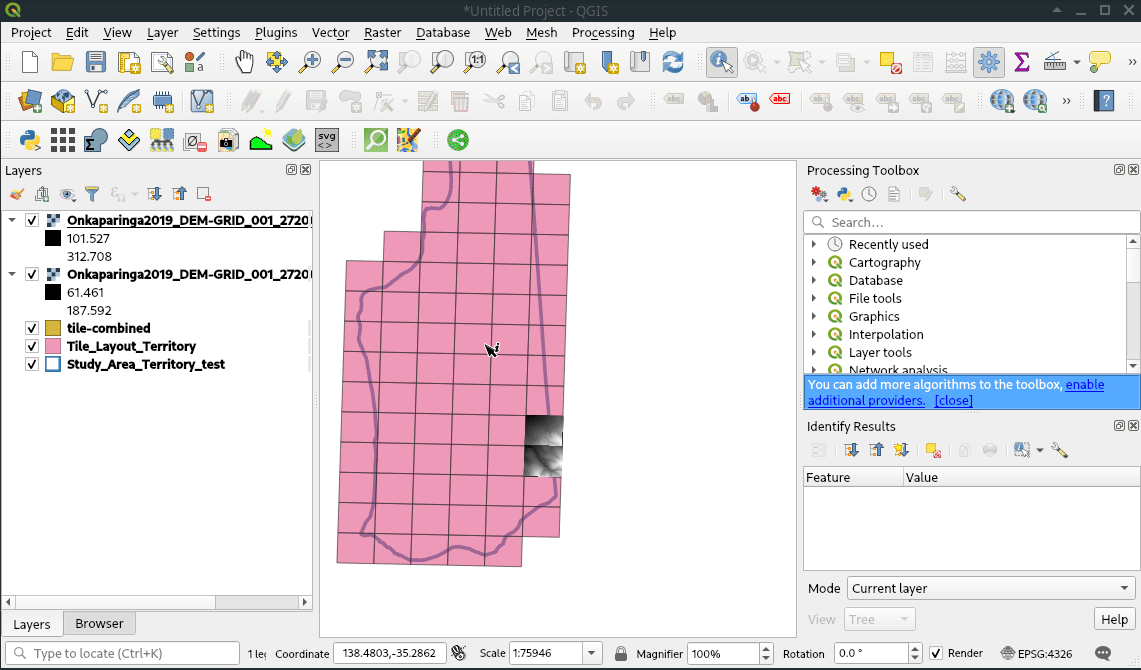
First, we need to create a new file on QGIS and insert the file Study_Area_Territory, which is located in the provided dataset in Datasets_LARCH7031_Part_1> Cadastral. This file will give us a reference for the studied area. Also, we are going to insert the Tile_Layout_Territory.shp, located under Tile_Index_LiDAR_Data folder. This file will work as a reference for our Raster image that we will import later. To identify the chosen area on QGIS we are going to use Identify Features button located on QGIS Attribute toolbar or use the shortcut Ctrl+Shift+I, then with the layer Tile_Layout_Territory selected we click with the left mouse button on the desired tile to get information about the selected element. In that case, we are going to look at the feature name and get the corresponding value. We are going to use that value to identify the correct Raster tile. In this tutorial, we are going to use two tiles: 272000_608900 and 272000_608800.
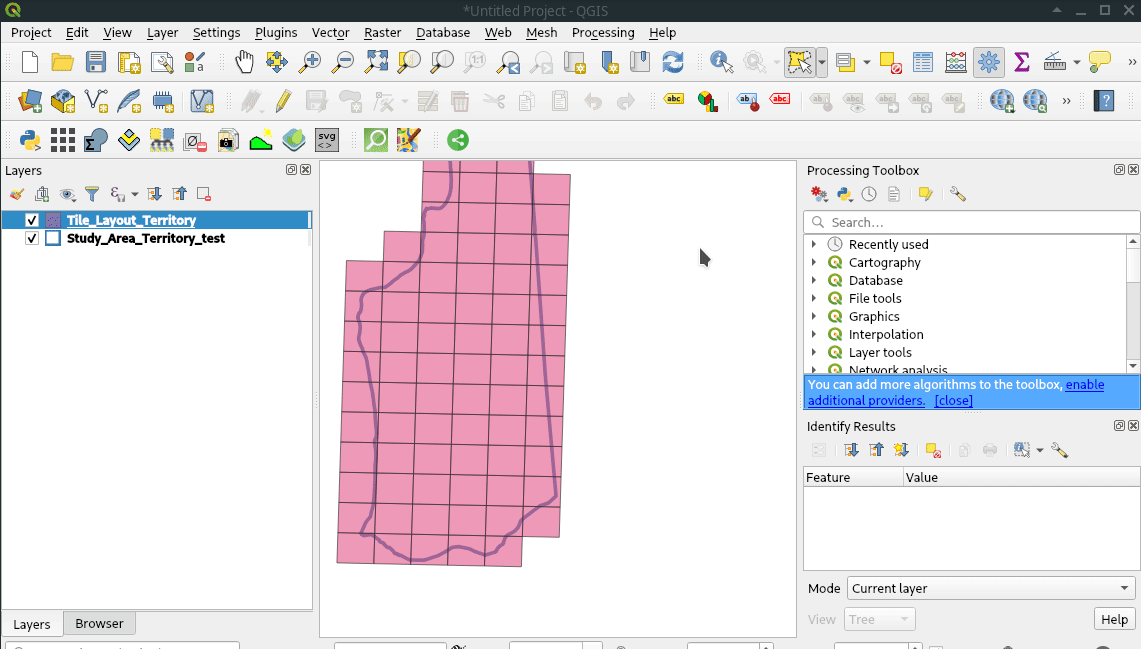
Now that we already know the name of the tiles, we have inserted it on QGIS. To do that, we are going to insert a raster layer in QGIS clicking on Open Data Source > Add Raster Layer > ..., open the DTM_1m folder, and looking for both matching names 272000_608900 and 272000_608800 with the extension .asc.
We need to combine both vector tiles and raster tiles. First, we are going to combine the vector tiles in order to have a reference that we can use later if we decide to overlay shapefiles in our Grasshopper definition. To do that, we right-click under layer Tile_Layout_Territory and then Open Attribute Table and looking for the matching names 272000_608900 and 272000_608800 selecting both. After that, we are going to combine these layers using Vector > GeoProcessing Tools > Dissolve. Then we have to check the box selected features only and under the ... save the shapefile in a chosen folder.
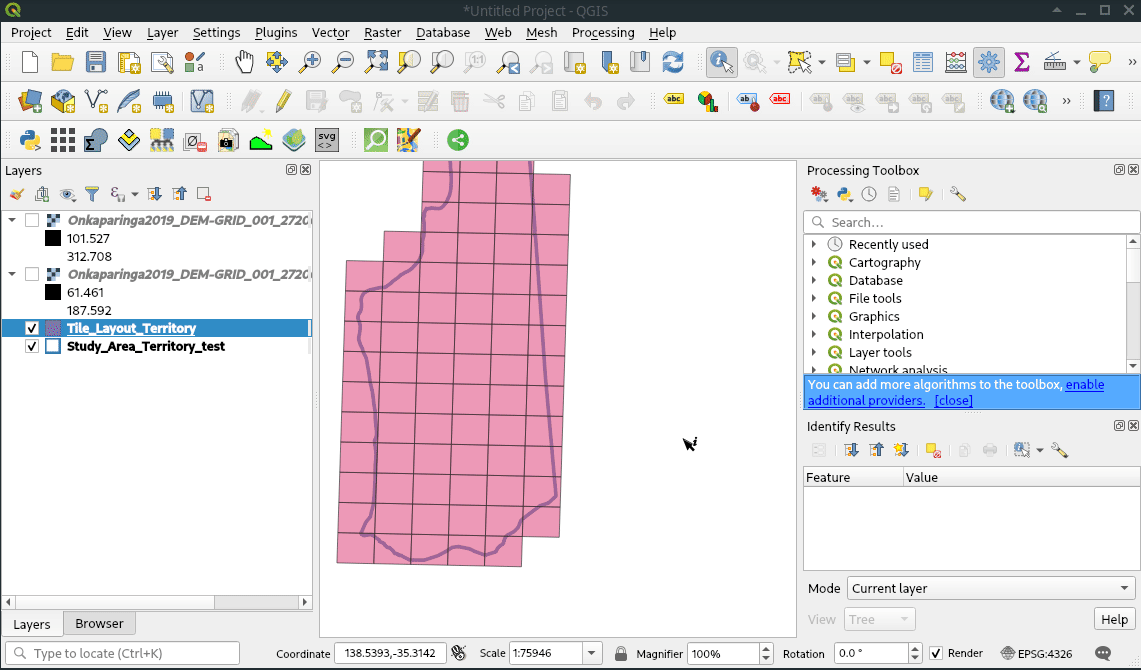
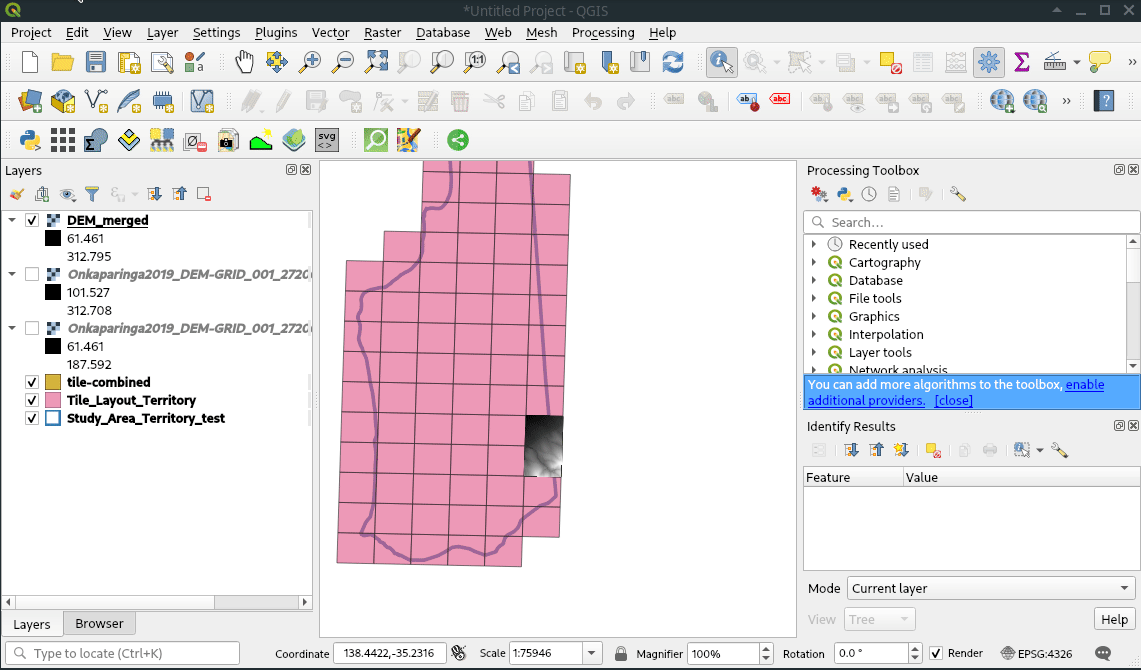
Now it is time to combine the raster tiles. Go to Raster > Miscellaneous > Merge. Then, under Input Layer click on the ... and select both raster layers. After that, under Advanced Parameters > Assign specified "nodata" value to output [optional] set the value 0 to make sure that the “novalue” will be flat. Go to Merged > ... cell and save the file in a specified folder.
Our last step on QGIS is to convert our raster file .tiff to a .asc extension to be open by Docofossor inside Grasshopper. Go to Raster > Conversion > Translate (Convert Format). First, we need to assign the “nodata” as 0, and then under Converted cell and choose a folder and give a name to the file with the extension as .asc, after that, click in Run to convert and save the file.
Now our DTM file is ready to be imported into Grasshopper.
3. Importing the DTM file into Grasshopper
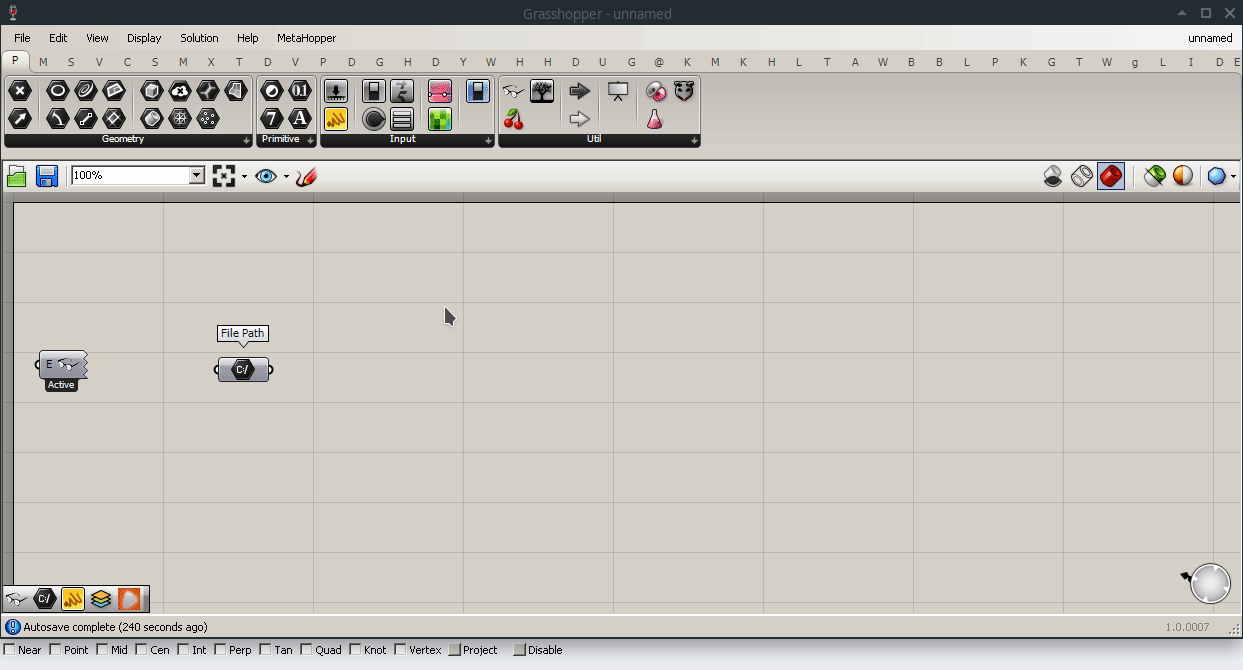
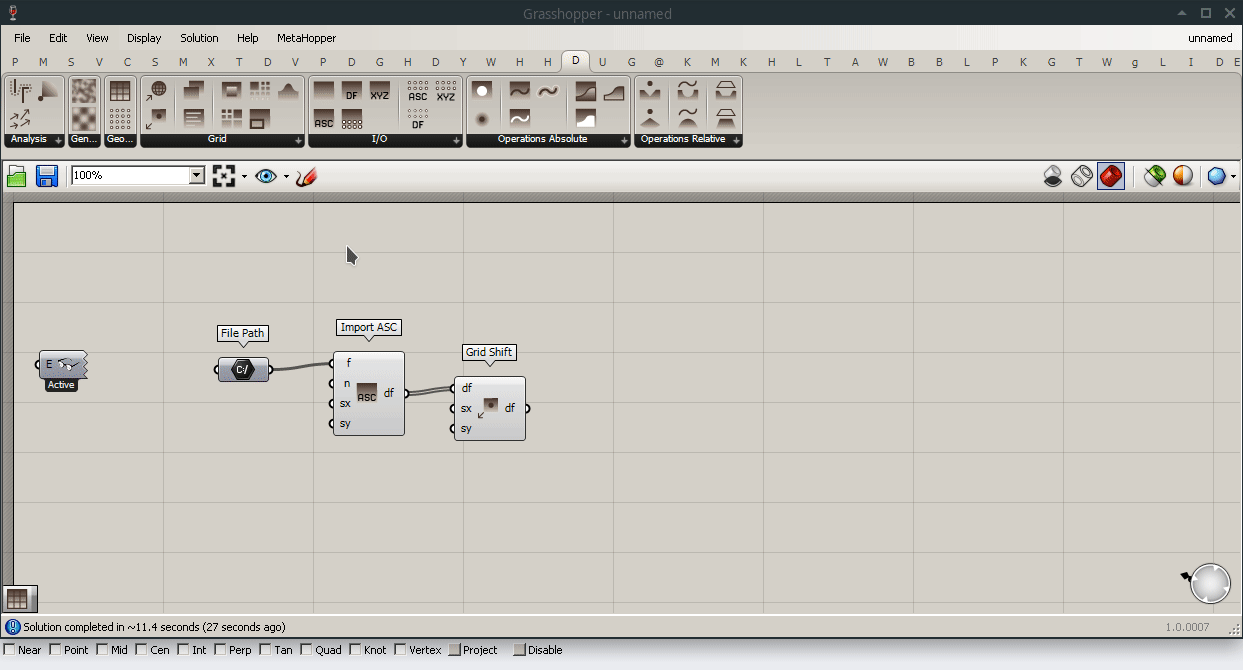
Open Rhino and Grasshopper, create a new Grasshopper file. Drag-and-drop Bifocals component into Grasshopper canvas to initialise the visualisation of both names in icons of Grasshopper components. Then, get File Path parameter under Parameters > Primitive > File Path. Right-click on File Path and Select one existent file and choose the DTM file with the extension .asc that we have converted and saved from QGIS.
Under the Docofossor table go to Docofossor > I/O > import ASC, then connect the File Path output in the f input of Docofossor Import ASC component. This component will generate a df output (docofossor file), which represents a grid with all the elevation values of our Digital Terrain Model (for more information about docofossor the structure of the docofossor file, please check docofossor documentation.
Then we need to orient our grid to the Rhino absolute coordinate 0,0,0. We can do that using docofossor component Grid Shift, located in Docofossor > Grid > Grid Shift. Connect df input from Import ASC into df input of Grid Shift.

Our final step is to generate the mesh from the df output. Go to Docofossor > Geometry > Grid Mesh and connect the df output from Grid Shift into df input of Grid Mesh. Done! The mesh will appear on the Rhino Viewport.
So, we have finished this tutorial on how to import DTM into Grasshopper using Docofossor. The Grasshopper definition of this tutorial can be downloaded here, and the DTM file can be downloaded here.